Adding : A Beginner’s Guide to JavaScript Push Notifications
Introduction
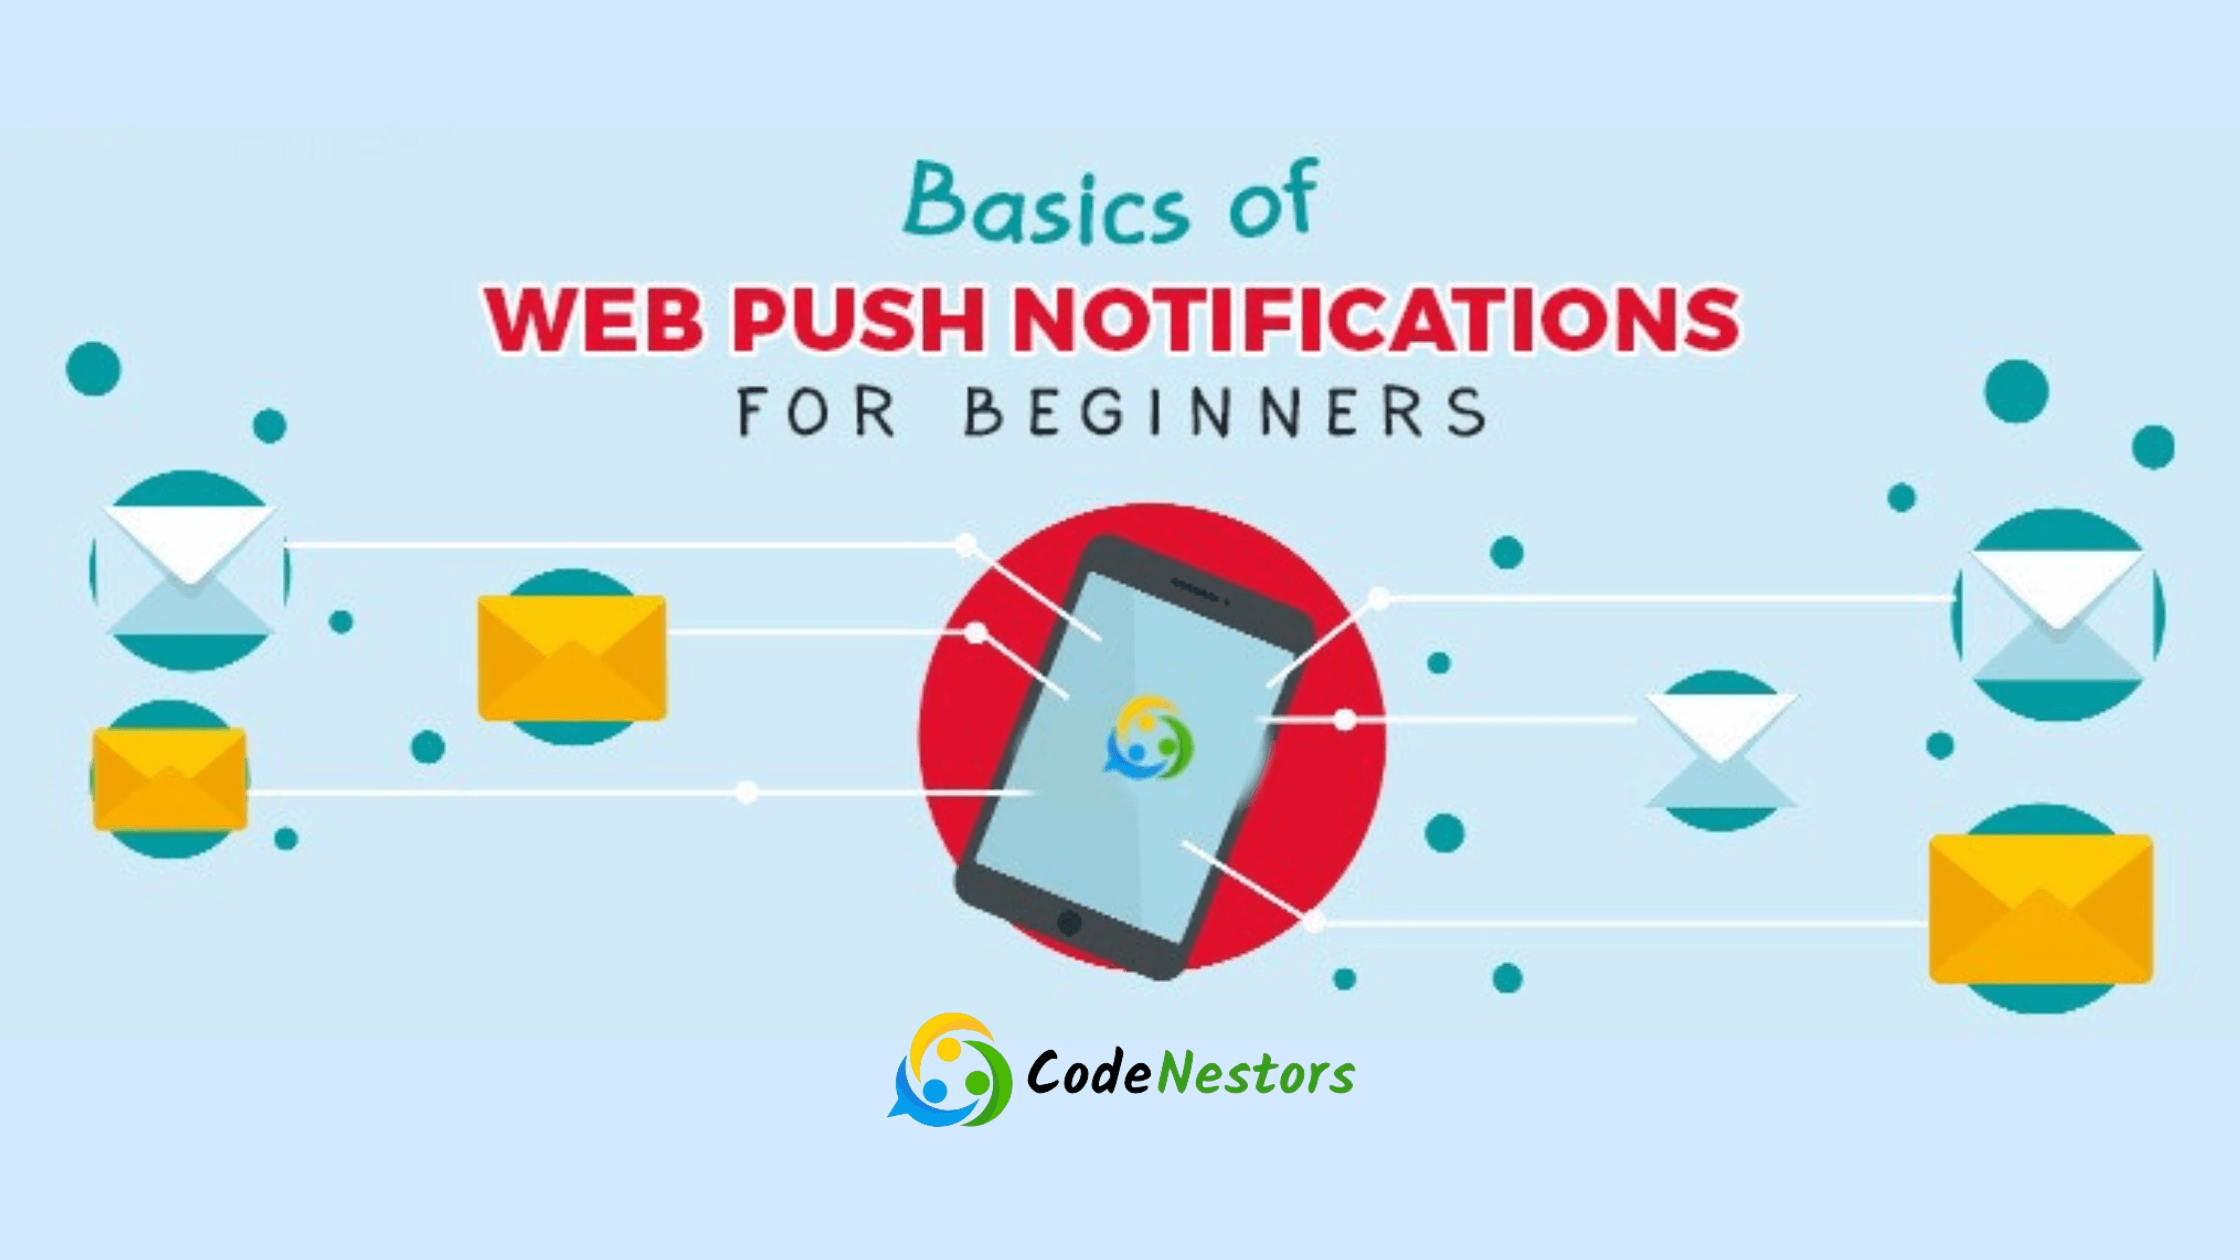
Push notifications are a powerful tool for web developers enabling them to deliver timely updates and alerts to users even when the browser is closed. In this comprehensive guide we will explore the process of creating push notification in JavaScript providing a step-by-step approach to enhance the interactivity and engagement of your web applications.
Prerequisites
Before we start journey of implementing push notifications ensure you have a solid foundation in HTML, CSS and JavaScript. Additionally you’ll need access to a server with HTTPS support as this is a requirement for push notification to work securely.
step-by-step guide for push notifications
Set Up a Basic HTML Structure
Start by creating a basic HTML file that sets the foundation for your web application
<!DOCTYPE html>
<html lang="en">
<head>
  <meta charset="UTF-8">
  <meta name="viewport" content="width=device-width, initial-scale=1.0">
  <title>Push Notifications in JavaScript</title>
</head>
<body>
  <!-- Your content goes here -->

  <script src="main.js"></script>
</body>
</html>
Create a JavaScript File
Develop a JavaScript file (e.g main.js) to handle the push notification logic. This file will contain the following code
if ('serviceWorker' in navigator && 'PushManager' in window) {
  navigator.serviceWorker.register('service-worker.js')
    .then(function(registration) {
      console.log('Service Worker registered with scope:', registration.scope);
    })
    .catch(function(error) {
      console.error('Service Worker registration failed:', error);
    });
} else {
  console.error('Push notifications are not supported in this browser.');
}
Create a Service Worker
Build a service worker (create a file named service-worker.js) to handle push notification events
self.addEventListener('push', function(event) {
  const options = {
    body: event.data.text(),
    icon: 'path/to/icon.png',
  };

  event.waitUntil(
    self.registration.showNotification('Your App Name', options)
  );
});
Request Permission
In your main.js file, request permission from the user to receive push notification
Notification.requestPermission().then(function(permission) {
  if (permission === 'granted') {
    console.log('Notification permission granted.');
  } else {
    console.warn('Notification permission denied.');
  }
});
Trigger Push Notification
Finally trigger a push notification in response to a user action or an event. For example, trigger a notification on a button click
function sendNotification() {
  if (Notification.permission === 'granted') {
    navigator.serviceWorker.ready.then(function(registration) {
      const title = 'Your App Name';
      const options = {
        body: 'This is a push notification!',
        icon: 'path/to/icon.png',
      };

      registration.showNotification(title, options);
    });
  }
}

// Example: Trigger push notification on button click
const notificationButton = document.getElementById('notificationButton');
notificationButton.addEventListener('click', sendNotification);
implementing Push Notifications with Next.js using firebase
Step 1: Set Up a Next.js Project
- Create a Next.js project: Run the following command to start a new Next.js project:
npx create-next-app my-next-app- To access your project directory, follow these steps:
cd my-next-appStep 2: Install Necessary Packages
- Install Firebase SDK:
npm install firebaseStep 3: Set Up Firebase
- To create a Firebase Project: Open the Firebase Console (https://console.firebase.google.com) and create a new one.
- Configure Firebase Cloud Messaging (FCM): In the Firebase project settings, obtain the necessary credentials for FCM.
- Add Firebase configuration: Include Firebase configuration in one of your Next.js files (such as firebase.js):
import firebase from 'firebase/app';
import 'firebase/messaging';

const firebaseConfig = {
  // Your Firebase config here
};

if (!firebase.apps.length) {
  firebase.initializeApp(firebaseConfig);
}

export default firebase;
Step 4: Create a Service Worker
- Create a Service Worker File: You will need to create a file named firebase-messaging-sw.js inside the public directory of your Next.js project.
- Add Firebase Service Worker Code: Add the following code to firebase-messaging-sw.js:
importScripts('https://www.gstatic.com/firebasejs/9.6.0/firebase-app.js');
importScripts('https://www.gstatic.com/firebasejs/9.6.0/firebase-messaging.js');

firebase.initializeApp({
  // Your Firebase config here
});

const messaging = firebase.messaging();
Step 5: Register the Service Worker
- Register the Service Worker: In your Next.js app, register the service worker in _app.js so that it is activated when you launch the app.
import { useEffect } from 'react';
import firebase from './firebase';

function MyApp({ Component, pageProps }) {
  useEffect(() => {
    const registerMessagingService = async () => {
      const registration = await navigator.serviceWorker.register('/firebase-messaging-sw.js');
      firebase.messaging().useServiceWorker(registration);
    };
    registerMessagingService();
  }, []);

  return <Component {...pageProps} />;
}

export default MyApp;
Step 6: Request Notification Permission
- Request Notification Permission: In your application, request permission from the user to receive notifications:
import firebase from './firebase';

function Home() {
  const handleRequestPermission = async () => {
    try {
      await firebase.messaging().requestPermission();
      console.log('Notification permission granted.');
    } catch (error) {
      console.error('Unable to get permission to notify.', error);
    }
  };

  return (
    <div>
      <h1>Push Notifications Demo</h1>
      <button onClick={handleRequestPermission}>Allow Notifications</button>
    </div>
  );
}

export default Home;
Step 7: Sending Notifications from Server-Side
- Create Next.js API Route: Create an API route in Next.js where you can send notifications from the server. For example:
// pages/api/sendNotification.js
import firebaseAdmin from 'firebase-admin';

if (!firebaseAdmin.apps.length) {
  firebaseAdmin.initializeApp({
    // Your Firebase Admin SDK config here
  });
}

export default async function handler(req, res) {
  // Code to send notifications using Firebase Admin SDK
}
Step 8: Handle Notification Clicks
- Handle Notification Clicks: Your service worker should handle notification clicks as follows:
self.addEventListener('notificationclick', function(event) {
  event.notification.close();
  event.waitUntil(
    clients.openWindow('/specific-route') // Open specific route on notification click
  );
});
The guide provides a comprehensive overview of how to implement push notifications with Next.js. Be sure to replace placeholders like Firebase configuration with your actual values, and handle errors appropriately.
conclusion
Implementing push notifications in JavaScript empowers developers to create more engaging and responsive web applications. Remember that push notification require a secure connection (HTTPS) and may have browser compatibility considerations. Always test your implementation across different browsers to ensure a seamless and delightful user experience. As you integrate push notification consider the user experience and the value each notification brings to your application.
FAQs
What are push notifications?
Push notification are brief messages that web applications can send to users devices. even when the browser is closed. They serve to deliver real-time updates, alerts or information, enhancing user engagement.
Why do I need HTTPS for push notifications?
HTTPS (Secure HTTP) is required for push notification to ensure a secure and encrypted connection between the web server and the user device. Browsers mandate this security measure to protect user data and prevent potential security threats.
How can I request permission from users for push notifications?
You can request permission from users by using the Notification.requestPermission() method in JavaScript. This prompts the user to allow or deny push notification access.
Can I customize the appearance of push notifications?
Yes you can customize the appearance of push notifications by providing options such as the notification title, body and icon. This allows you to create a consistent and branded user experience.
Are there any best practices for implementing push notifications?
Some best practices include requesting permission respectfully providing valuable content. avoiding excessive notifications and testing thoroughly across different browsers and devices to ensure a seamless user experience.

